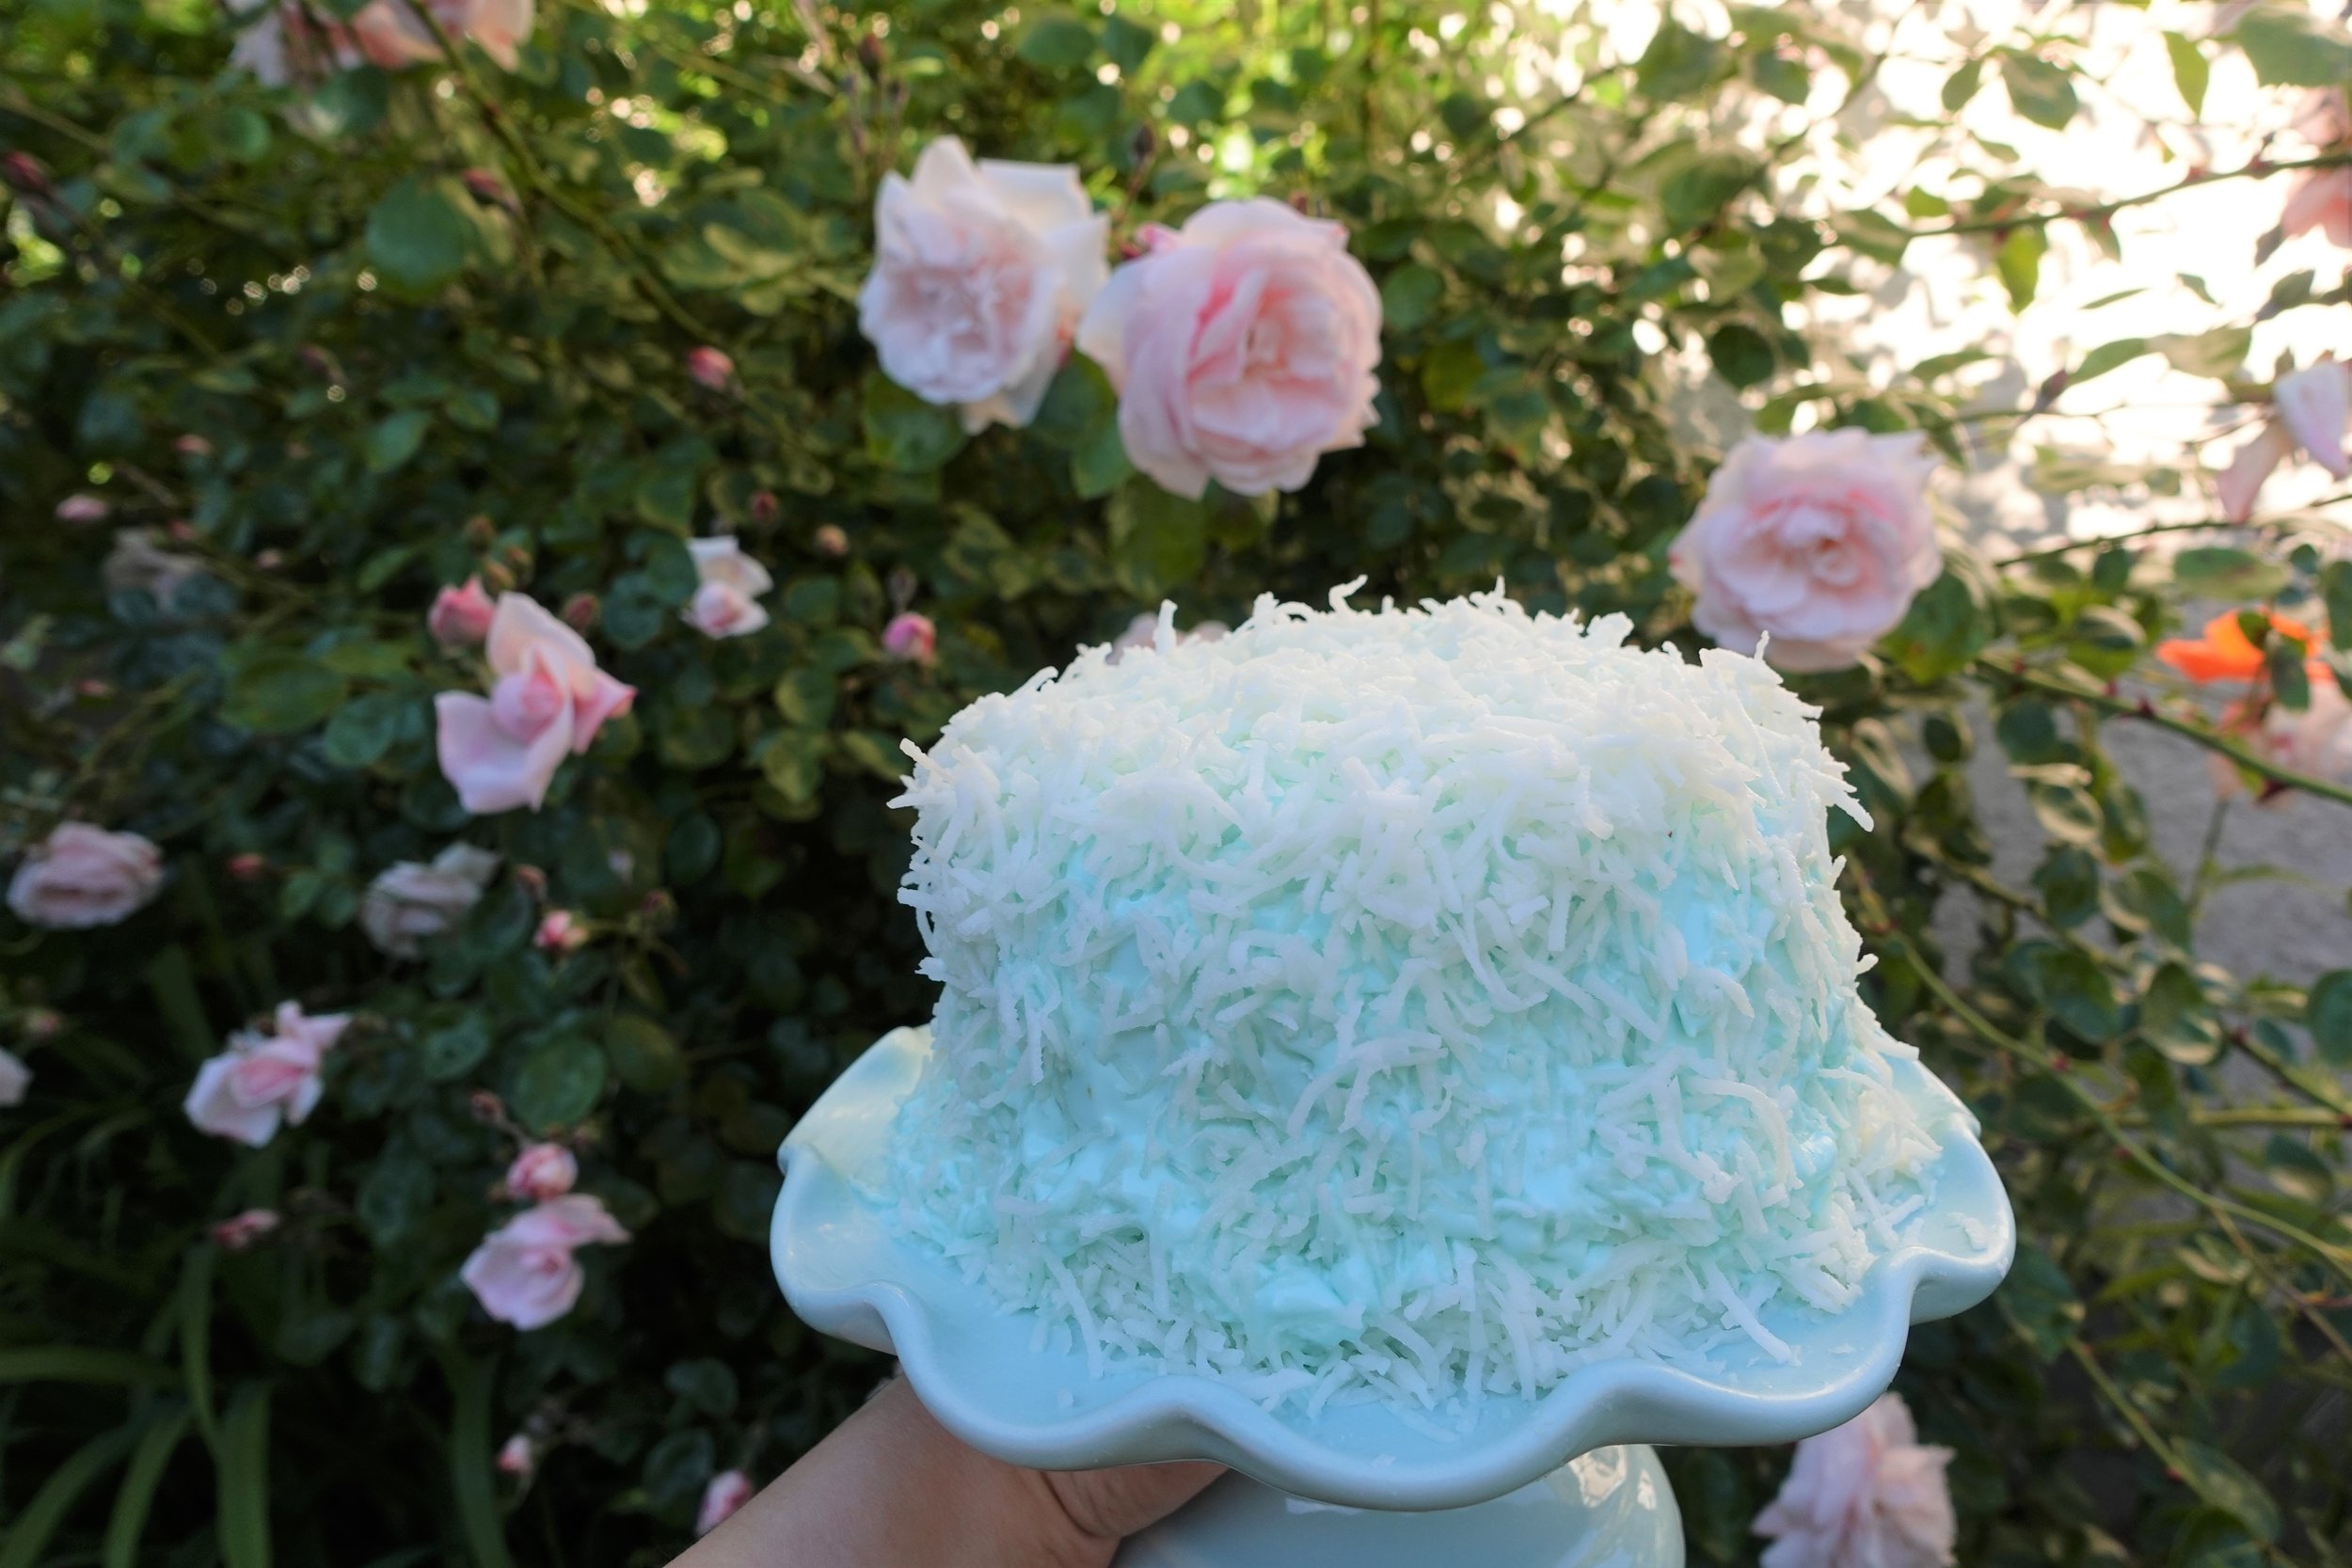
Coconut Dream Cake (Low-Carb)
I am now officially 28! And to celebrate I made myself what I like to think of as my Coconut Dream cake.
As a kid I loveeed the Cupcakes stores that were around Vancouver. My favourite flavours were the two coconut flavours they offered. I also really loved their chocolate mint flavour but that recipe will have to wait for another time ;)
Visiting the Cupcake store was one of my early dates with my husband, then boyfriend. I used to love these cupcakes so much that I remember my best friend from highschool riding her bike to go get me my favourite cupcake from their store! So all that to say, those cupcakes hold a special place in my heart.
And while I’m not re-creating the cupcakes I used to enjoy, I think this is a very close replica but in cake form. If you make this recipe I hope you enjoy it as much as I do! My mom has said that this is the best sugarless cake she’s had to date, and that’s high praise coming from someone who doesn’t consider herself a dessert person.
Coconut Dream Cake Recipe
Makes 1 two-layer 6inch cake, with some icing to spare!
Ingredients
Sweetened Coconut Ingredients
1 cup shredded unsweetened coconut
1/4 cup hot water
4 teaspoons of your sweetener or choice
Cake Batter Ingredients
1 cup blanched almond flour
3 teaspoons (or 1/2 tablespoon) baking powder
2 teaspoon coconut extract
1/4 cup milk of choice (I used regular dairy milk)
1/4 cup shredded unsweetened coconut
2 large eggs
1/4 cup melted butter
Pinch of salt
Icing Ingredients
1 250g block of cream cheese, softened
1 cup heavy whipping cream
Food colouring (I used food colouring gel, and a combination of blue and green. Please use whatever colour your heart desires!)
1 teaspoon coconut extract
1 teaspoon vanilla extract
Instructions
Sweetened Coconut
Combine the sweetener and hot water until the sweetener has dissolved.
Mix in the coconut until it has absorbed all the liquid.
Spread the coconut mixture on a tray and let it sit to dry (mine took about 24 hours to dry completely).
Cake Instructions
Preheat your oven to 350 degrees.
Prepare your baking pans by lining them with parchment paper and spray will cooking oil.
Combine your dry ingredients to a large bowl and mix until well combined.
Combine the wet ingredients into a separate bowl.
Whisk wet ingredients until the eggs are fully incorporated.
Add the wet ingredients to the dry ingredients and mix until fully incorporated.
Divide the batter evenly between the two baking pans.
Bake for about 20-30 minutes or until a toothpick inserted into the cakes comes out dry.
Icing
Combine the cream cheese, a bit of whipping cream, sweetener, and food colouring into a large mixing bowl.
With an electric mixer, blend until well combined.
Add in the rest of the whipping cream bit by bit (so it doesn’t splash everywhere!) and continue to whip until the icing has nice soft peaks.
Decorating
Once your cake is completely cooled, stack your first layer of cake on your plate and top with some icing.
Place the other cake layer on top and add some more icing.
Continue to frost your cake. Note: If your icing is too warm and melting (like mine was!) put it in the fridge/freezer for a bit to firm up some more.
Sprinkle/pat the coconut mixture on your cake.
All done!
If you make this cake, I hope it is like a dream!
Nicole ❤️

